Vendor entries are required for assigning vendor-specific feature attributes.
This task explains how to add a NAS/proxy vendor.
-
Select NAS/Proxy Vendors under
RADIUS on the Configuration and
Tools page.
The RADIUS Vendors page is displayed.
-
Click Add.
A blank
Radius Vendor page is displayed.
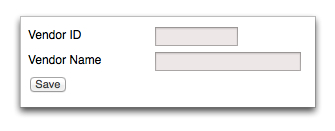
Figure: NAS/proxy vendor properties
-
Type an ID in the Vendor ID field.
The vendor ID must match the RADIUS vendor ID.
-
Type a name in the Vendor Name field.
The Vendor Name is a free text field.
-
Click Save.
The Radius Vendors page is displayed. The vendor is
added to the vendor summary list.