Priorities are ordered by the Priority Level value. Keep this
in mind when planning priority settings.
This task explains how to create a new ticket priority.
Tip: Ticket priorities are configured with a set of default priorities. You can keep these entries
and adjust them to your requirements by clicking Edit next to the specific
entry.
Select Priorities under Help Desk
on the Configuration and Tools page.
The Ticket Priorities page is displayed.
Click New Ticket Priority.
The Ticket Priority page is displayed.
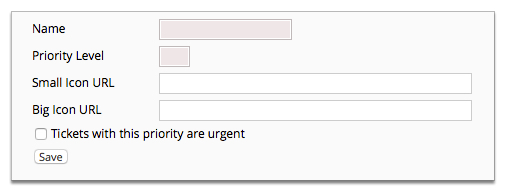
Figure: New Ticket Priority page
Type a name in the Name field.
Type a value in the Priority Level field.
This is a numerical value. Smaller numbers are of higher priority. This affects how tickets are sorted in
the helpdesk. For example, a priority level of 1 is the highest priority. 10 may be the lowest.
(Optional) Type an address in the Small Icon URL field.
You can not browse for the file. You must enter the full file location manually.
(Optional) Type an address in the Big Icon URL field.
You can not browse for the file. You must enter the full file location manually.
(Optional) Select the checkbox to mark Tickets with this priority are urgent.
Note: Tickets with this priority setting will be included in the column count of
Urgent in the Work Queues page.