Importing payments lets you upload information about BPay, POSTbillpay and PayWay
payments into Smile. If your company has stringent credit control requirements, you
should perform this task daily to ensure that account balances remain
up-to-date.
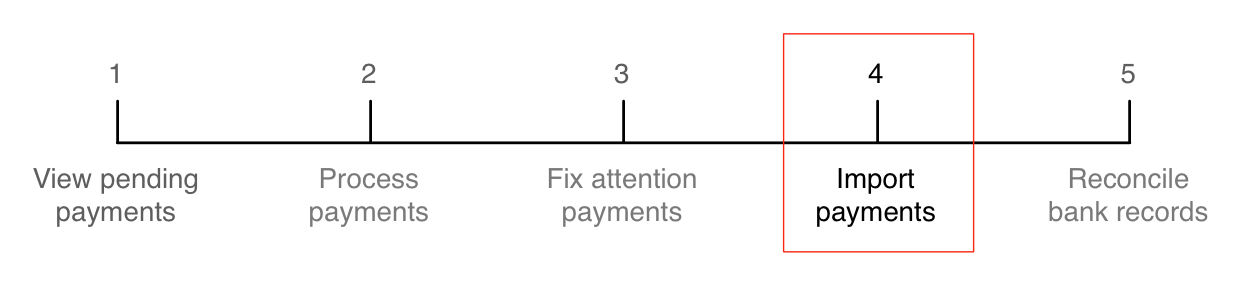
This task explains how to import payments into Smile.
-
On the Smile menu, click Billing,
then click BPay & Payment Imports.
The BPay & Payment Imports page is
displayed.
-
Click the type of file to import.
For example, to import National Australia Bank BPay files, click
National Australia Bank Imports.
-
Click Choose File, select the file provided to you by
your bank, then click Process.
You may need to provide additional information, such as an account number,
before you import the file.
Smile imports the file, raises a receipt for each payment in the file
and allocates each receipt to the appropriate account.
-
After Smile has imported the payments, click View Payment Import
Log.
The Payment Import Log List page appears and
displays information about each payment in the file.
-
Review any payments in Error status in the import log. You may need to
investigate the erroneous payments and allocate receipts to the appropriate
invoices.
Payments with errors occur when Smile cannot allocate an imported payment to
an account, for example, if the account number in the file is incorrect.